



Green Plank Deck Planner: Design Your Ideal Terrace and Plan Your Materials
A successful terrace starts long before the first composite board is installed. Dimensions, board direction, profile choice, substructure, fasteners, drainage, ventilation, stairs and perimeter details all influence the finished project. Planning these elements early can make it easier to understand the design and prepare a realistic material estimate.
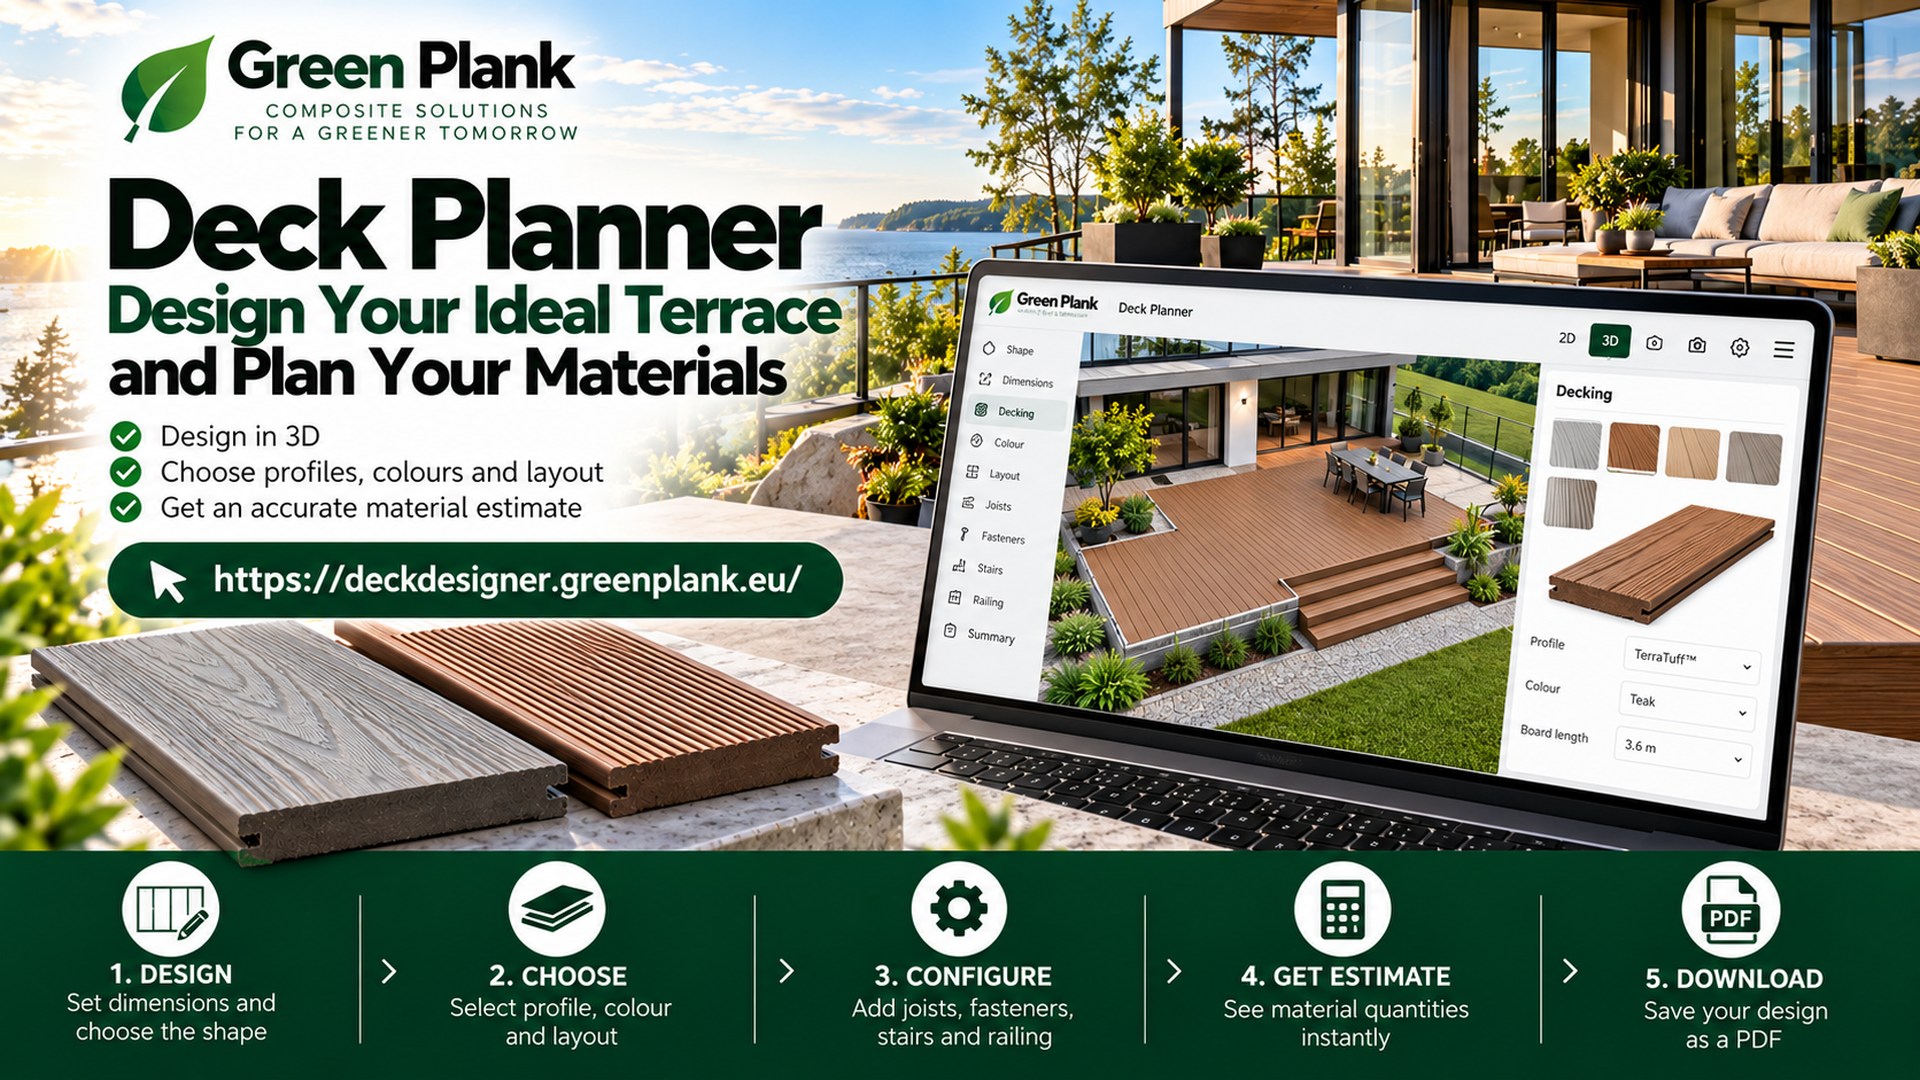
The Green Plank Deck Planner brings these decisions into one visual planning environment. Users can configure dimensions, select Green Plank decking, adjust structural parameters and view the terrace in 3D as the design develops.
Plan before you build: Use the Deck Planner to explore your terrace concept and estimate materials, then verify final quantities and construction details against the selected product documentation and actual site conditions.
What Is the Green Plank Deck Planner?
The Green Plank Deck Planner is an online 3D configurator created to help homeowners, installers, architects and professional buyers develop a decking concept before ordering materials.
The planner supports adjustable deck dimensions, product and colour selection, different deck shapes, board dimensions and lengths, joist configuration, board gaps, wall connections, stairs, railings and drainage features. The 3D preview updates as the project is configured.
Users can also download a PDF of the deck design, creating a useful project summary for further discussion with an installer, dealer or project team.
1. Start With Accurate Terrace Dimensions
The first step is defining the physical area. Measure the available width and depth and consider the finished deck height, doors, walls, corners and surrounding landscape.
The planner supports standard rectangular layouts as well as L-shaped configurations, free-draw options and cut-corner designs. This is useful because real terraces are rarely isolated rectangles; many must accommodate façades, garden features, pools or architectural boundaries.
Before opening the planner, record:
- overall width and depth;
- planned finished height;
- doors and fixed walls;
- corners and irregular boundaries;
- stairs and access points;
- pools or other permanent features;
- areas requiring drainage.
2. Select the Green Plank Decking
Once the footprint is established, choose the Green Plank decking range and available colour for the design. Different product families can have different dimensions, available lengths, surfaces and technical requirements, so product selection affects more than appearance.
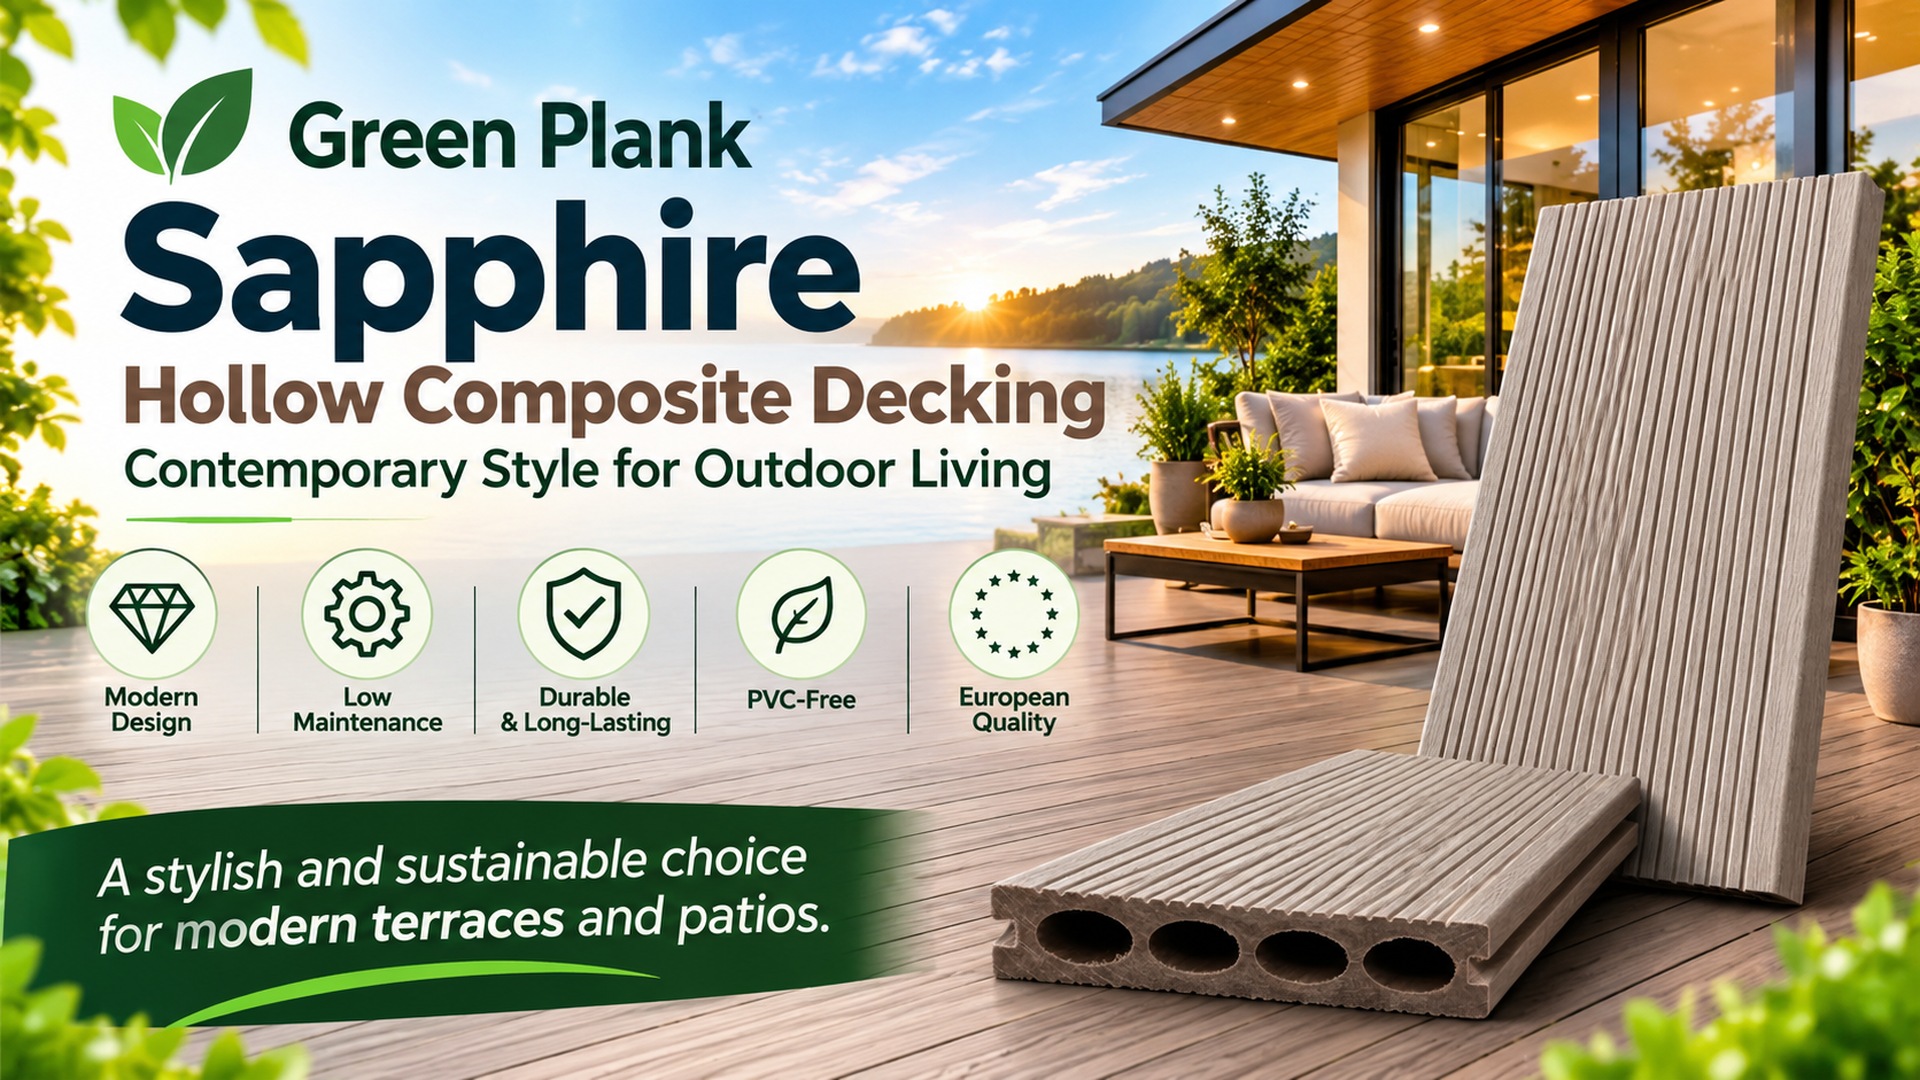
Green Plank offers several decking concepts, including TerraTuff™, Nordeka™, Classic™ and Sapphire™. The appropriate product should be selected according to the intended application and current technical information.
| Planning Decision | Why It Matters |
|---|---|
| Decking range | Determines available product characteristics and options |
| Colour | Influences the visual relationship with the building and landscape |
| Board width | Affects layout and material quantity |
| Board length | Influences joints, cutting strategy and potential waste |
| Board direction | Affects appearance and relationship with the supporting structure |
3. Visualise the Terrace in 3D
A material calculation is useful, but a visual model can reveal design decisions that are difficult to understand from numbers alone. The Green Plank Deck Planner provides a 3D preview that can be rotated, panned and zoomed while the project is developed.
This makes it easier to evaluate proportions, board direction, the relationship to a house wall and the position of stairs or railings before installation begins.
Design tip: Test more than one board direction and layout. A small change in orientation can alter the visual character of the terrace and may also affect the substructure and cutting plan.
4. Plan the Substructure – Not Just the Surface
The visible decking is only one layer of a complete terrace. Below it, the substructure supports the boards and influences load transfer, drainage, ventilation and fastening.
The Deck Planner includes controls for joist spacing and joist profile. These are important planning variables, but the final spacing must always comply with the requirements of the selected Green Plank profile and the intended use.
There is no universal joist spacing suitable for every WPC terrace. Residential use, commercial applications, board orientation and specific profile characteristics can require different solutions.
5. Understand Board Gaps and Thermal Movement
Composite decking contains a thermoplastic component and therefore responds to temperature changes. The required detailing depends on the product, board length, temperature conditions and surrounding construction.
The Green Plank planner includes parameters for side-to-side board gaps, board-end gaps and perimeter gaps to walls or other solid structures. These controls help visualise the complete layout.
They should not be treated as universal installation values. Final gaps must follow the current installation instructions for the selected decking product and the actual conditions at the site.
6. Plan Drainage and Ventilation
Good terrace planning includes water management. Rain and cleaning water need a route away from the deck, while the space below the boards should be designed according to the ventilation requirements of the system.
The Deck Planner includes drainage-related configuration options, allowing water-management concepts to become part of the design process rather than an afterthought.
- Assess where water naturally flows.
- Coordinate the deck with surrounding levels and drainage.
- Avoid blocking drainage routes with the substructure.
- Plan the required ventilation below the decking.
- Keep drainage areas accessible for future cleaning.
7. Add Stairs, Railings and House Connections
A terrace rarely exists without connections to its surroundings. The Green Plank Deck Planner can incorporate house-wall positioning, stairs and railings, helping users see these components as part of the complete project.
Stair width and placement can be adjusted within the design. These visual planning functions are valuable for concept development, although final structural, safety and regulatory requirements should be confirmed for the actual project.
8. Estimate Decking and Hidden Fasteners
One of the most useful stages of deck planning is converting the design into estimated quantities. The planner calculates the deck area and can provide information related to hidden fasteners based on the selected configuration.
Material requirements depend on more than floor area. Board width, gaps, board length, layout, joints, cut pieces and waste all influence the final order quantity.
| Material | Main Quantity Drivers |
|---|---|
| Deck boards | Area, board width, direction, lengths and layout |
| Joists | Deck dimensions, orientation and required spacing |
| Clips/fasteners | Board layout, joist intersections and fastening system |
| Fascia | Visible perimeter requiring finishing |
| Waste allowance | Shape, cuts, joints, pattern and available board lengths |
9. Reduce Unnecessary Cutting and Material Waste
Material planning is not simply about calculating enough decking. Choosing board lengths intelligently can reduce unnecessary offcuts and simplify installation.
Compare the terrace dimensions with the available lengths of the selected product. For irregular decks, think about whether useful offcuts from one area can be used elsewhere rather than automatically adding a large generic waste percentage.
The objective is a practical cutting plan with sufficient contingency, not an artificially low material quantity.
10. Use the Planner as Part of a Professional Workflow
The Deck Planner can be useful at several stages of a project. A homeowner can explore an initial idea, an installer can review dimensions and layout, while a dealer or professional buyer can use the design as a starting point for material discussions.
- Measure the site.
- Create the initial deck design.
- Select product, colour and board direction.
- Configure the substructure and relevant details.
- Review the estimated materials.
- Download the project PDF.
- Verify the design against product documentation and site conditions.
- Confirm final quantities before ordering.
Planning Is More Than Calculating the Purchase Price
A well-planned terrace should also consider installation and future use. Material price is only one part of project economics. Substructure, fasteners, installation, waste, cleaning and future maintenance can all influence total cost.
ISO 15686-5 provides a framework for life-cycle costing of buildings and constructed assets, considering relevant costs over an agreed analysis period. For larger or professional decking projects, this broader perspective can provide a more meaningful comparison than board price alone.
From Digital Design to the Finished Terrace
The Green Plank Deck Planner makes the early planning stage more visual and structured. It can help users understand how terrace dimensions, decking selection, board direction, substructure, gaps, drainage, stairs, railings and material quantities interact before construction starts.
A digital planner does not replace professional structural design, site measurement or product-specific installation instructions. Its value is in creating a clearer starting point: visualise the project, explore alternatives, estimate materials and prepare better information before purchasing or installation.
Start with the idea. Plan the complete system. Verify the details. Then build.
https://deckdesigner.greenplank.eu/
Sources
- Green Plank Deck Planner – 3D deck design and material planning
- Green Plank – composite decking and project planning information
- ISO 15686-5:2017 – Life-cycle costing
Specify the product
Use this guide with a Green Plank specification
Technical articles support the commercial catalogue — category, product, evidence, then samples or quotes.